Openers · Asphodel-Norwood
Photo-Eye Sensor Alignment or Replacement in Asphodel-Norwood
After a cold night the door stays open until the garage warms up. There is frost on the sensor lenses and a ridge of salty slush piled against the brackets where the snow blower was parked.
Photo-Eye Sensor Alignment or Replacement
In plain words
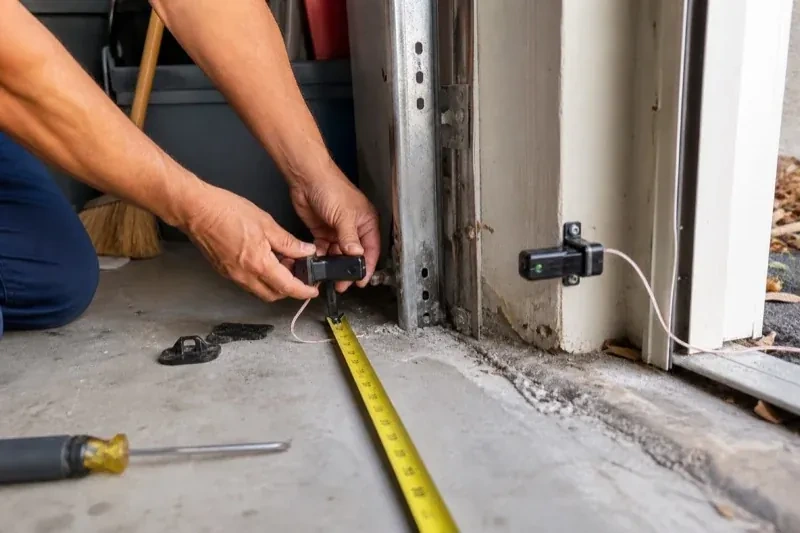
Two small sensors face each other across the doorway: one sends an infrared beam, the other receives it. While the beam lands on the receiver, the opener will close the door; the moment anything interrupts it, the door stops and returns to open. Every sensor call comes down to why the receiver has lost the beam: an object, a bent bracket, a dirty or frosted lens, sun in the receiving eye, a broken wire or a tired sensor. The technician works through those in order, fixes the one that applies, and shows you the steady indicator lights that mean the pair is talking again.
How the visit goesOn bright mornings the door will not close, then by lunchtime it behaves itself. The garage faces the low sun, and the light reaches straight across the floor to one of the little black sensors.
Asphodel-Norwood
How the visit goes
Following the wire home
When the lights or the code point to the circuit, the low-voltage wire is followed from each sensor to the head unit. The technician looks for staples driven through the insulation, wire pinched behind a track bracket, sections chewed by mice, cuts where shelving or drywall screws went in, splices that have corroded, and terminals at the head unit that are loose or connected the wrong way round. A meter confirms continuity and polarity rather than guessing. Where the wire disappears into a finished ceiling, the readings at each end tell whether the hidden section is sound or whether a fresh run is the tidier answer.
Repairing the wire run
Damaged wire is dealt with in whole sections rather than patched at a single point. A pierced or chewed length is cut back to sound insulation and either spliced with proper connectors or, more often, replaced from the sensor to the nearest good junction. Where the run has failed in more than one place, a fresh two-conductor wire is stapled from the motor housing across the ceiling and down both sides of the opening, kept clear of the track, hinges and the door's travel. At the head unit the pair is landed on the correct low-voltage terminals with polarity confirmed, and the sensor lights are checked before anything is tidied.
A record of the work
You have a short written note of what was done: the opener make and model, what the diagnostic code and the sensor lights showed on arrival, whether the fault was alignment, wiring, sun or a worn sensor, what was replaced and where the new parts sit. It records the height the sensors were set at and that both tests were passed with you watching. That note is useful for a home inspection, for the next technician, and for you, because it shows what normal looks like on this door so a future change is easy to describe over the phone.
Photo-Eye Sensor Alignment or Replacement
In the van
- Concrete anchors
- Receiving-eye sun shade
- Wire connectors
- Multimeter
- Matched photo-eye sensor pair
What affects the quote
Same fees day, night or weekend
1Protecting exposed wire
On a wall where the wire runs in the open, a slim protective channel or a re-route higher along the wall keeps bins, bikes and mice away from it, and is quoted as its own line.
2Length and route of the wire run
A damaged section near a sensor is a short repair. A fresh run from the motor to both sides of the doorway takes longer, more so where the wire is buried in a finished ceiling.
3Undoing an earlier shortcut
Sensors taped together beside the motor, mismatched pairs from different generations or a bypassed circuit are put right first, which means new wire down each side and fresh brackets at the doorway.
Photo-Eye Sensor Alignment or Replacement: questions
Could the wiring be the problem rather than the sensors?
Frequently. The sensors are fed by a thin two-conductor wire from the head unit that crosses the ceiling and drops down both sides of the door, and it is pierced by staples, cut by shelving screws, chewed by mice or pulled from its terminals more often than a sensor fails. Both sensor lights dark, or an opener code for an open or reversed circuit, points to the wire. The technician tests the run with a meter and repairs or replaces the damaged section.
What tests are done before the technician leaves?
Two, and you are invited to watch. With the door closing, an object is passed through the beam and the door has to halt and climb back to the top. A 2x4 laid flat beneath the door's centre comes next; closing onto it must make the door back off on contact. The door is also run from the wall control and a remote, the opener's warning flashes are confirmed gone, and both sensor lights are shown steady.
What can I check myself before calling?
Three things, all safe. Look along the floor between the sensors for anything in the path, including snow, leaves or a cobweb across a lens. Look at the two sensor lights and note whether one is dark or flickering, or both are dark. Press close and count the flashes of the opener light. If moving an object or wiping a lens brings the receiving light back on steadily, the door may close normally again; if not, those observations make the visit shorter.
Openers & Access
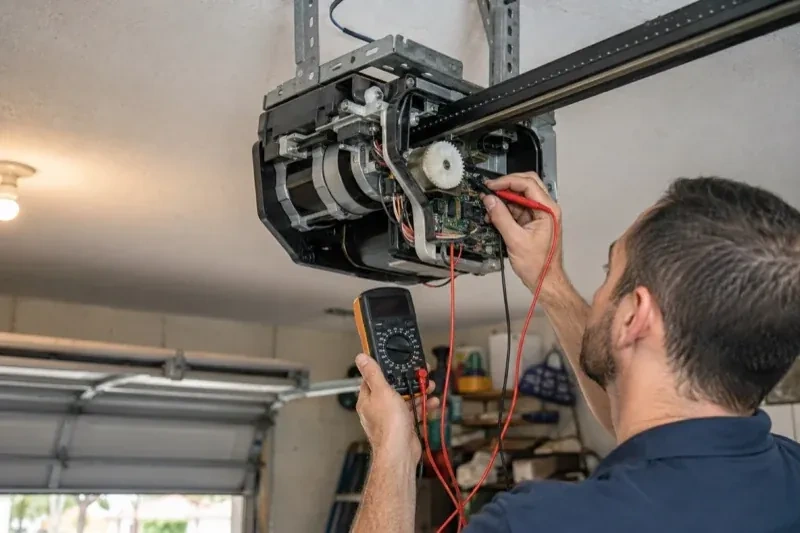
Photo-Eye Sensor Alignment or Replacement near you
A door in Asphodel-Norwood that is lifting unevenly, dropping too far, screeching on the rails or refusing the remote is telling you which part is tired. Our services are grouped around those parts, springs and cables, tracks and rollers, openers and controls, so the fix is easy to identify.